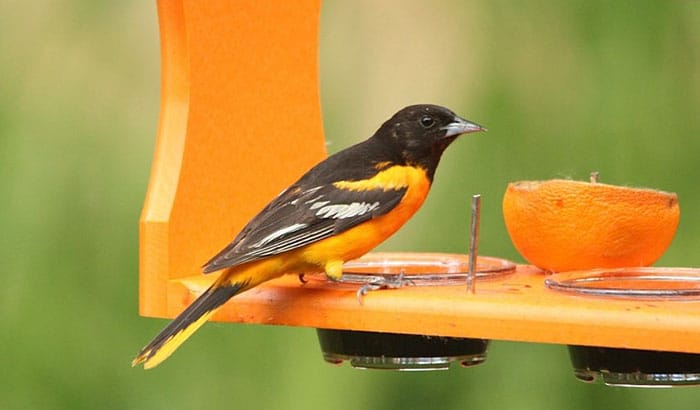
If you are into birdwatching, having orioles in your backyard should be an incredible experience. These gorgeous birds, although not rare, are still very uncommon to visit in every backyard since they are naturally shy and tend to stay high up in the trees away from us. But one way to attract these beautiful and cute little birds is to offer foods they actually eat. And this can be done by making an oriole feeder right into your backyard.
But how to make an oriole feeder? Actually, you can easily buy from bird shops or any online shop, but it is not economical. You can actually make a DIY oriole feeder using simple materials that do need to be expensive. This article will teach you different methods to create an oriole feeder right in your own backyard.
Contents
Making a Homemade Oriole Feeder
Method #1: Making a Homemade Decorative Oriole Feeder
Materials You Need:
- 1 inch by ¾ inch PVC Bushing
- 1 inch PVC coupler
- ¾ inch End Plug
- Small teacup with saucer
Tools You Need:
- Hammer
- Adhesive with weatherproof and waterproof features
- Caulking Gun
- Hacksaw
- Bastard File
Step 1:
Take one 5 feet piece of 1 inch PVC pipe and try to cut one end at a 45-degree angle using the hacksaw.
Step 2:
The next step is to put the POVC into the ground. You can use the hammer to put it on a water-softened ground. An alternative is to use a board to cover the PVC before hammering it to the ground for the safety of the PVC.
Step 3:
Then, you will need to install the coupler on top, followed by the bushing. Please note that you will not need any forms of glue to make it tighten. Making some simple twisting motion can make the couple and the bushing tight into the pipe. Also, you may find the end cap hard to fit if it is still new, so before the installation, use the bastard file to make it fit perfectly. Please be reminded that these parts should be loose fit to the PVC pipe for safety and comfort purposes.
Step 4:
Get the teacup and the saucer and use the adhesive to stick them both. Then, attach the end plug at the back of the saucer using the glue and, of course, the caulking gun. Take some time to let them dry before continuing the process.
Step 5:
The next step is to put the teacup with the end cap to the PVC pipe. With a loose-fitting, it can be easily cleaned or changed if you want to, making it easy to maintain or clean all the time. You can use different types of cups if you want, but you need to make sure to have several end caps attached to each cup for easy replacement. You can put different foods into the feeder but make sure to put foods that the oriole likes to have a greater chance of attracting these birds.
Method #2: Making a DIY Oriole Feeder Using Deli Cup and Baling Wire
This method should probably be the cheapest feeder you can make as the main materials are readily available in your home. You can use other cups as well, but the deli cup is what we use because I feel that it easily fits the foods we offer to the birds.
Materials You Need:
- 1 pc. Deli Cup
- 1 pc. Bailing Wire
Tools You Need:
- Drilling tools
- Pliers
- Wirecutter
Before starting the overall process, make sure to prioritize your safety during the making process. Use safety glasses and gloves for your protection.
Step 1:
The first step is to drill some small holes at the bottom of the deli cup. This action aims to allow the water to go through if it rains a little bit in your area. You can use a 3/32 drill bit, but a ⅛ drill bit can also work the same.
Step 2:
The next step is to take the baling wire and wrap it around the other end to measure the size of the deli cup. You can then make a rounded circle through the wire with just enough size to carry the deli cup. Make sure to measure the size at the upper portion of the cup.
Step 3:
Once you have the size, use the pliers to secure and tighten the rounder barb wire. Make sure that the length of the circular wire is enough to carry the deli cup once it is inserted. Cut the extra wires left when locking and securing the circular part of the baling wire. Put the deli cup again and check if it is loose or not. Make sure that it is snug fit when inserted into the baling wire.
Step 4:
The next step is to bend the other side of the wire up. This part of the baling wire will be used in hanging the deli cup to the feeder Poole. It is up to you to decide the correct length of the wire that will hang the deli cup into the Poole., Once you have the desired size, cut the other end of the wire and bend over a bit of hook that will hang the new feeder into the Poole.
Step 5:
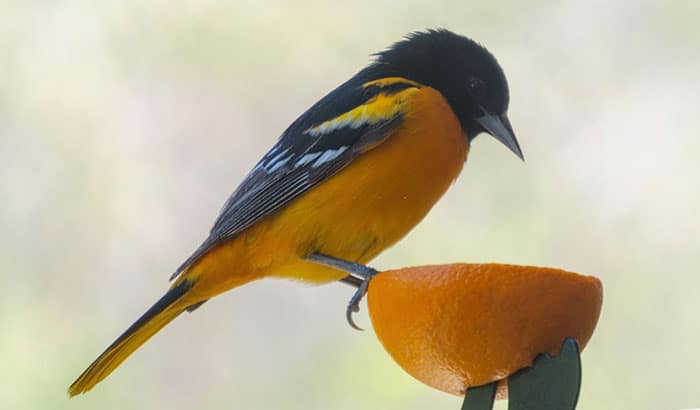
The final step is to hand the feeder to the Poole and put foods that the orioles like, such as Jelly. Hand it in an excellent place and wait for the orioles to come in to consume all the foods you offer for them. This feeder is probably one of the cheapest you can do, and it will only take a few minutes to make.
Conclusion
Attracting an oriole bird can be a challenge, but if you know how to attract them by offering the foods they want, you can have these gorgeous birds in your backyard at the soonest possible time. Making a feeder for oriole birds need not be expensive. You can make a very economical feeder using the methods we presented above. It does not need to be costly as long as it is good quality and can help attract orioles to your backyard.