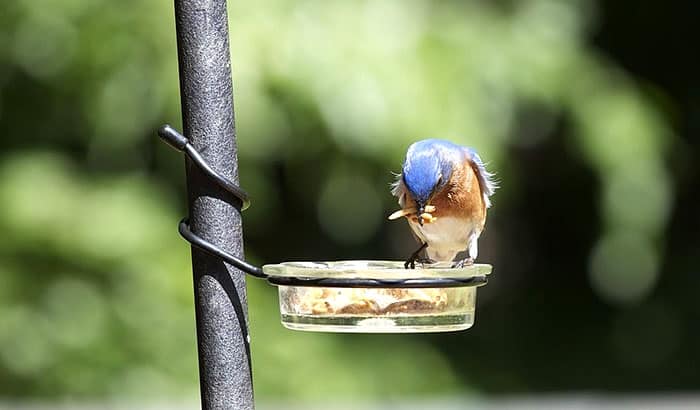
What is a surefire way to help birds manage harsh weather and inhospitable climates? In my opinion, it is by providing them a helping hand by way of bird feeders. For birds such as chickadees, bluebirds, cardinals, woodpeckers, American Robin, nuthatches, and more, the best type of feeder is a mealworm feeder.
This post discusses how to make a mealworm feeder worthy of these birds’ attention. The project is simple enough. If you have enough creating experience under your belt, you can finish the feeder in half an hour.
Contents
How to Make a Mealworm Feeder Step by Step
Materials Needed
Here’s a list of everything you will need to create the feeder:
- Recycled aluminum cans (tuna cans are a perfect size)
- 18-gauge wires
- Needle-nose pliers
- Drill
- Knife or chisel
Optional materials:
- Beads
- Paint
The optional materials are meant just for aesthetic reasons. If you want to make the feeder more beautiful, you can decorate it with paint and beads.
But as far as the functionality of the feeder is concerned, you only need the cans, 18-gauge wires, needle-nose pliers, and the drill.
Food Resources
Here’s a list of the ingredients for the food you are offering the birds:
- Dried or live mealworm
- High-quality mixed birdseed
Dried mealworm is easier to manage than live ones because they don’t spoil. But even if you’d prefer using live mealworms, they are also suitable. You will use aluminum cans as the container of the feeder, anyway, so the mealworms won’t be able to crawl out.
Mealworms are high in protein, which is beneficial for birds. But because birds need more than protein in their diet, I also suggest throwing in a good set of high-quality mixed birdseed. And by high-quality, I mean it should contain seeds nutritious and suitable for wild birds – seeds like sunflower.
Step 1: Clean the Cans
The first step to take is to clean the cans. Start with a good, thorough, and vigorous rinsing. Whether you are using recycled tuna or cat food cans, it’s best to get every sign of its previous use out of the way. If you don’t clean the cans thoroughly, they may retain the odor of what they contained in the past. Whether they contained tuna or cat food, they will attract cats, rodents, and other pests, which is unsuitable for a bird feeder.
Use warm water and dishwashing soap to clean the cans if you have to. Just be sure to rinse them thoroughly afterward. Then, let the cans air or sun-dry.
Step 2: Remove the Can Labels
Remove the can labels using a knife or a chisel. While this step is not strictly necessary, it’s a good touch for a homemade mealworm feeder.
Step 3: Paint the Cans (Optional)
If you want to splash a little bit of color on the cans, painting them is a strong choice. Acrylic paint, permanent markers, or spray paints are suitable tools.
Step 4: Drill Holes on the Cans
Use the drill to create holes in the cans. I suggest making three holes in a triangular pattern because it’s the perfect blend of stability and practicality. These holes will serve as the anchor points of the wires. And if there are only two anchor points, the cans can easily rock and get out of balance. But if you tie more than three wires on the can, they might get in the way of incoming birds.
Use a drill bit that is slightly wider than the wires you will use.
Step 5: Create the Hanger Portion of the Feeder
Now that you have your holes in the cans, you can create the hanger portions. Cut the 18-gauge wires into 12 inches each maximum. The longer the wires are, the higher the chances of entanglement.
Hook one end of a wire into one of the holes you made on the can. Use the needle-nose pliers if doing it by hand is difficult for you.
Step 6: Decorate the Wires (Optional)
If you want to, you can decorate the hanger portion of the feeder with beads or other decorative materials.
Step 6: Mix the Bird Food and Hang the Feeders
Mix equal parts of mealworms and birdseed that will fit in the cans. Now you are ready to hang your feeders.
Hang the feeders where:
- The birds can see them
- Vermin like rats or squirrels can’t get them
- There is enough cover for birds to feel comfortable
- You can see the birds feed themselves silly – which is a beautiful bonus
Why Choose Mealworm?
Mealworms are a staple in many bird species’ diets. You can never go wrong with providing them for birds. But here are a few other reasons why I like giving dried mealworms to birds:
- Dried mealworms are convenient. Just mix them in birdseed, and they are good to go.
- They don’t need cleaning. Some birdseed has husks that you have to sweep away every while.
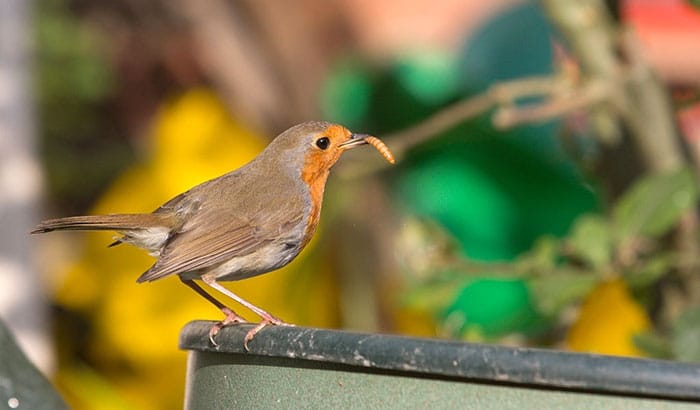
- Birds like mealworms because birds like insects. Mealworms are generally the pupae of a certain beetle species.
- Mealworms are nutritious, especially for hatchlings. They contain protein, fat, and fiber.
- Dried mealworms do not spoil.
- They attract a wide variety of birds.
Final Word
There you have it! A simple, step-by-step guide on how to make a mealworm feeder. With just a few ingredients and materials, you can create mealworm feeders worthy of many birds’ attention.