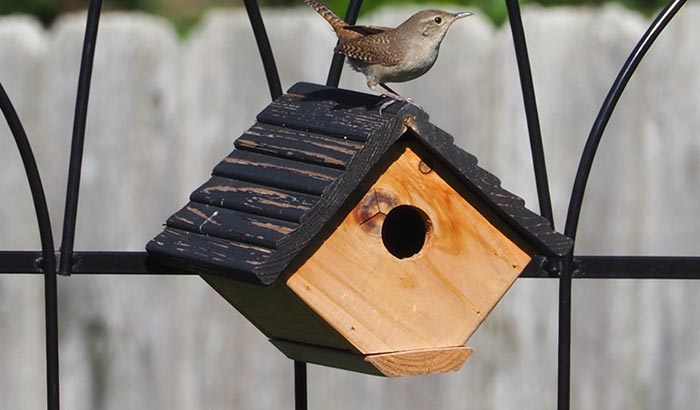
One of the common birdhouses that you will see in every backyard is the wren birdhouse. Since the wren is considered a cavity-nesting bird, they will quickly use every man-made birdhouse that they will see in the backyard. But can you build a wren birdhouse on your own? Yes, you can develop your own wren birdhouse provided that you know the proper and correct dimension of the birdhouse.
But how to build a wren birdhouse? It is all about knowing the proper dimensions and learning the overall process of building. I tell you, to have the best chance of nesting success with wren birds, an adequately constructed wren birdhouse is essential. This situation can be achieved by knowing the proper height, weight, and dimension of the hole.
Contents
Building a Cedar Fence Picket Wren Birdhouse
In this birdhouse, we will be using a cedar fence picket in building our birdhouse. This birdhouse has an entry hole dimension of 1 ⅛ inch, which is the standard. Also, I feel that making a larger entry hole can give less desirable birds easy access to the birdhouse.
Tools Needed:
In building this wren birdhouse, you will need a tape measure, speed square, pencil, brand nailer, and miter saw. You will also need eyeglasses and ear protection for your safety during the building process.
Materials Needed:
1 pc. – 5 ½ inches x ½ inches thick cedar fence picket ( Preferably 72 inches long)
1 ¼ – Finishing nails
Any glue suitable for cedarwood
General Instruction:
Before starting the actual building process, it is vital to take all the necessary precautions to increase safety in the workplace. Working on a clean, leaving a surface that is free from debris and other forms of imperfections in the area is a must. Use all safety devices such as eyeglasses and ear protection during the cutting of the wood.
Step-By-Step Process:
Step 1:
The first step in building this cedar-made wren birdhouse is to cut the wood to the needed cut list shown below. Make sure to use the right tools needed in measuring and cutting the wood. It is also essential to use the safety gears during the cutting process. Please find below the cut list required in building a wren birdhouse.
For front and back walls
- Quantity: 2 pieces
- Length: 7 ¼ inches
- Requirements: the longest point should be cut at the top corners off with a 45-degree angle to form a house shape
For side walls
- Quantity: 2 pieces
- Length: 4 ¼ inches
- Requirements: The walls are shorter to allow ventilation inside the birdhouse
For flooring and roofing pieces
- Quantity: 3 pieces
- Length: 8 ½ inches
- Requirements: Take 1 piece of this wood and rip ½ inch off the edge to make a short roof piece
Make sure to cut the wood according to what is stated above. Once all of the pieces are prepared, then proceed to assembling and building the wood pieces.
Step 2:
Get the flooring wooden piece and the back wall piece and attached it accordingly with back edges flush. Use the glue and the finishing nail to properly attached the two wooden pieces.
Step 3:
The next step is to get the two side walls pieces and attached them to the back wall and the floor. Again, use the glue to adequately attached it and reinforced it with the finishing nail.
Step 4:
The next step is to install the two roofing pieces. However, one of the roofing pieces needs to be shorter, as indicated in the cutting requirements earlier. It should be ½ inches less in width compared to the other in anticipation of the overlap. Attach the shorter roofing piece on the right side, then do the longer one after.
Step 5:
For the finishing process, I suggest using a wood filler to fill all the holes in the newly built wren birdhouse. If you want to add more coating, then apply additional wood filler as needed. Let the wood filler dry, and then sand the birdhouse with a sandpaper. You can also do a vacuum cleaning to remove all the residue during the sanding process. Clean the birdhouse by wiping it with a piece of damp cloth.
Installing a Wren Birdhouse in your Backyard
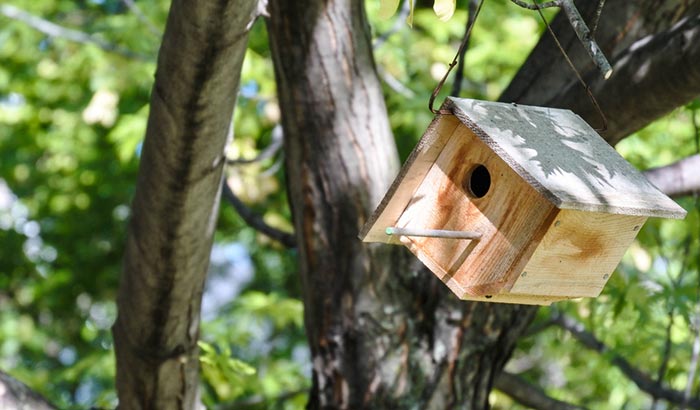
After building the wren birdhouse, the next step is to look for the proper location in your backyard. The requirements should be at least five to ten feet high when it comes to distance from the ground. It will be advisable to hand or mount it in an area with some trees and shrubs.
You also need to make sure to place it in the tree branch and not under the leaves. Also, make sure to avoid wide-open areas and heavy land vegetation. In the installation, the wren houses should face away from the direction of the winds.
Conclusion
Learning how to build a wren birdhouse or any other birdhouse can be an excellent skill to learn for people who love birds. For one, it is easy to understand, and it will give you the chance to live with the wren in your backyard. It will also make you contribute to the ecosystem positively. Also, wren birdhouses will also add beauty to your surroundings.