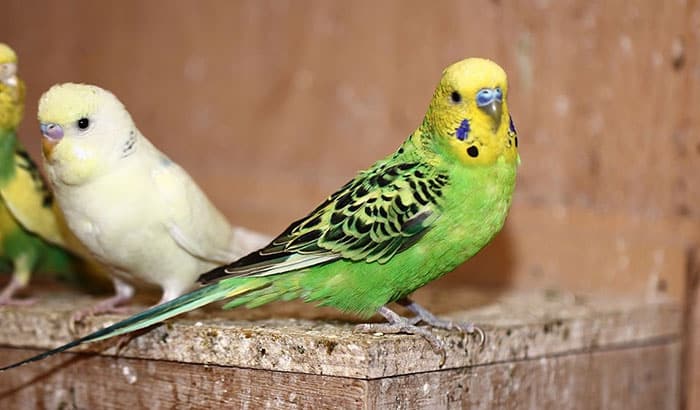
If you like birds, having parakeets as your pet brings a lot of upsides to you as a bird lover. For one, these cute birds come in a manageable size, very entertaining, talkative, and social. The size of these birds is small enough to fit a small apartment while allowing you to travel with these cute animals with ease. Also, the size of the birds does not limit their capability to be trained because they learn fast.
But how to make a nesting box for parakeets? If you are considering having parakeets as pets, then it will be practical to learn how to make a nesting box for these bird pets. Yes, it will be easy to buy parakeets in bird shops, but having actually to build your own will provide a lot of ownership in terms of providing shelter to the birds.
Contents
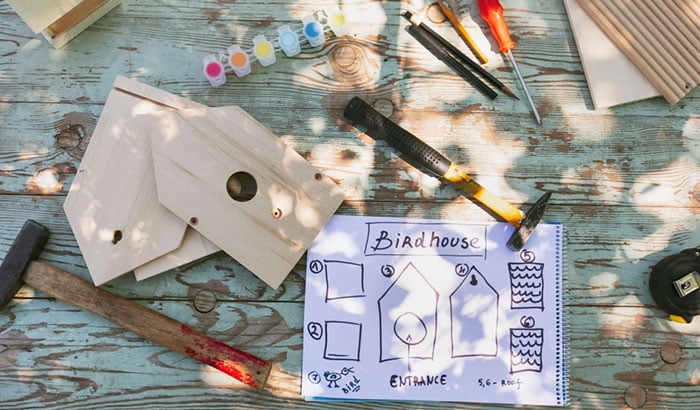
Making a Nesting Box for Parakeets
Building a nesting box for parakeets can be a fun and excellent do-it-yourself project for you as a bird owner. It only involves simple materials, and with the right tools, you can quickly build a nesting box at the soonest possible time.
Materials You Need:
- Plywood board of about 90 square feet
Tools You Need:
- Circular saw
- Rotary cutting tool
- Power drill
- Hammer
- Ruler
Safety Equipment You Need:
- Safety Glasses or Goggles
- Gloves
- Ear Protection
- Dusk mask
First Step:
The first step is to cut the woods into their proper sizes. You will need four panels that measure 14” x 12”, which will be used to the side of the nesting box. Then, another two panels measuring 14” x 14” will be used for the top and bottom of the nesting box. In cutting the woods, you can have the choice to have it pre-cut at the hardware store where you buy the wood. Or you can cut it yourself following the appropriate sizes.
Make sure to measure the right size of the woods by marking it with a pencil to get the proper sizing and makes it straight. Failure to do so will be costly since you might need to buy another set of woods for the department store.
Second Step:
After cutting the exact number of wood panels, try to cut a round hole in one of the side panels you just made. You will use the rotary cutting tool to cut the circle that should be located near the cage floor. This action is for the birds to walk inside the nesting box easily. The circle’s circumference should be 3 inches which should be enough for the parakeets to fit once entering the nesting box quickly.
Third Step:
The next step is to start nailing the wood panels, specifically the sides and the bottom part. It will be convenient to build a box with a removable top for you to clean easily from bird waste and unconsumed bird foods. You can first nail the sides of the nesting box first followed by nailing the bottom corner.
Then, you can nail one in the top corner on each side. Then start nailing the bottom on by having it in each of the four corners. When hammering, make sure to keep the nails straight to produce an excellent result. If not, the nails will go off the center and inside the box.
Fourth Step:
You can create a perch underneath the hole on the outside of the nesting box. The perch will make it easy for the perch to go inside by landing their feet on the perch before they step inside the nesting box. You can make a perch by cutting a piece of wood where the size should be enough to provide space for the bird. You can use glue to attached and secure just beneath the whole.
Fifth Step:
The next step is to make some holes to make the top of the box secure. One way is to make holes on the top wood panels on the side and use wire to secure it down. You can drill the first two holes to the right and left sides of the box. Then, you can drill holes on the upper portion of the box.
Then, you can place the top on the nesting box by running the wire through the holes. Tying the wire will help in securing the upper panel through the nesting box. Every time you want to remove the top of the nesting box to do the cleaning, you will only need to untie the wire to remove the top quickly.
Final Step:
The final step is to decorate the bottom of the box to make it more of natural habitat for the bird. You can use natural materials to make the nest more comfortable and secure for the birds. Try copying the birds’ natural habitat by placing some wood shavings, straws, feathers, and other similar materials found on a normal nest.
Conclusion
Learning how to make a nesting box for parakeets is excellent knowledge to have should you decide to breed these birds or considering having the parakeets as your pet. For sure, it will be easy for you just to buy a ready-made nesting box but having to build on your own is actually more fulfilling as a bird owner. After all, it is all about giving the parakeets the most comfortable habitat while they are in your own home.